Business email is an important aspect when it comes to interaction with customers. knowing the importance of a business email ID, I will tell you how you can create free email for business and the best part is you can configure it to send and receive emails through this business email on your Gmail. You can create as many email ID’s as you can.
All hosting providers have a plan to where you can create a business email. This can be paid or free depending on the hosting service. For example, Godaddy and Bigrock provide a business email for approximately 29 INR per month.
If you are in the early stage of starting your business or you are a new blogger and want to consider the cost for investing in various tools then creating a free email for business is what you need to consider to save some initial cost.
Steps to create free email for business
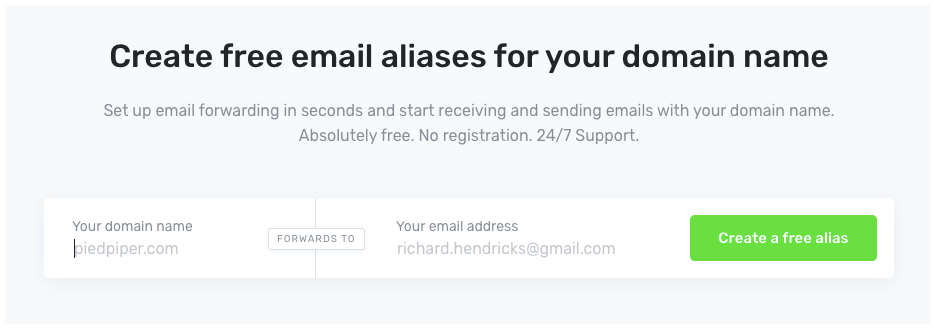
Step 1. Go to the website https://improvmx.com/.
Step 2. Enter your domain name and the email ID where you want to forward your emails. Then click on create a free alias

Step3. Once, you click on “Create a free alias”, the next page will ask you to add MX and TXT records to your DNS entries. Click on “Continue and set aliases”. You should also get a verification email on your Gmail account. Click on the link to validate your email.
Click on the “Email forwarding needs Setup” link.

You need to add the 2 MX Records and 1 TXT records into your DNS entries.
Step 4.Login into your domain provider. If you are using Cloudflare it’s fairly easy. After login to Cloudflare, go to the DNS tab and click on Add an MX record. For Godaddy or other service providers, you need to search for the option DNS Management.

Click on Add a record and enter the MX records and Priority as shown below. Similarly, add the other MX Records also.

Add the TXT records also to your DNS entries and click on continue in the Improvmx website.
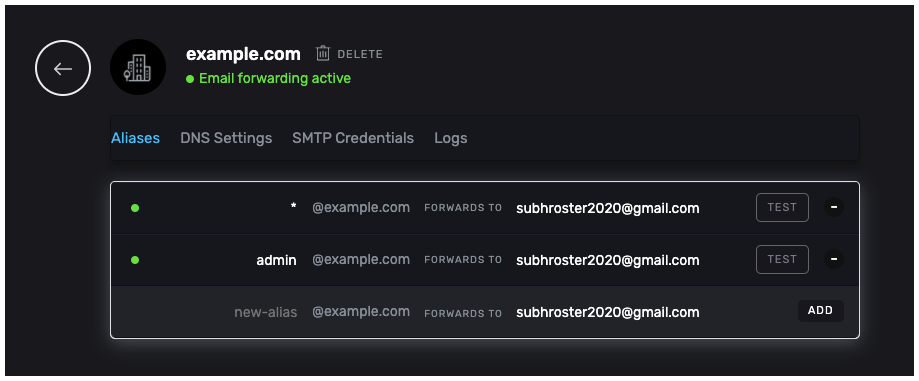
Once, the MX and TXT records are added to your DNS entries within a few minutes you will be able to see a checkmark and “Email forwarding active” message.
Step 5: In the alias tab, enter any name for your business email. For example, I have used admin@ You can click in the TEST to send a test email.

You would receive the test email in your Gmail account.
Now, every email that will be sent to your business email ID will be forwarded to you personal Gmail ID but you won’t be able to send an email or reply from business email ID.
For replying and sending from your business email ID follow the steps exactly as shown below.
- First, you need to enable to 2 step verification for your Gmail account. You can proceed to the next step if you already have 2 step verification enabled or click on the link below to enable 2step verification. https://myaccount.google.com/signinoptions/two-step-verification/enroll-welcome
- Go to https://myaccount.google.com/ and click on Security tab and Click on App Passwords. From the dropdown select others and give a name to your app. For example, you could write a business email and click on generate.
- A new app password will be generated. You can either keep this page open or paste the password in a notepad. You don’t need to remember or save this as this will be used only once.
- Click on the little gear icon at the top right corner of your Gmail account and click on Settings from the dropdown.
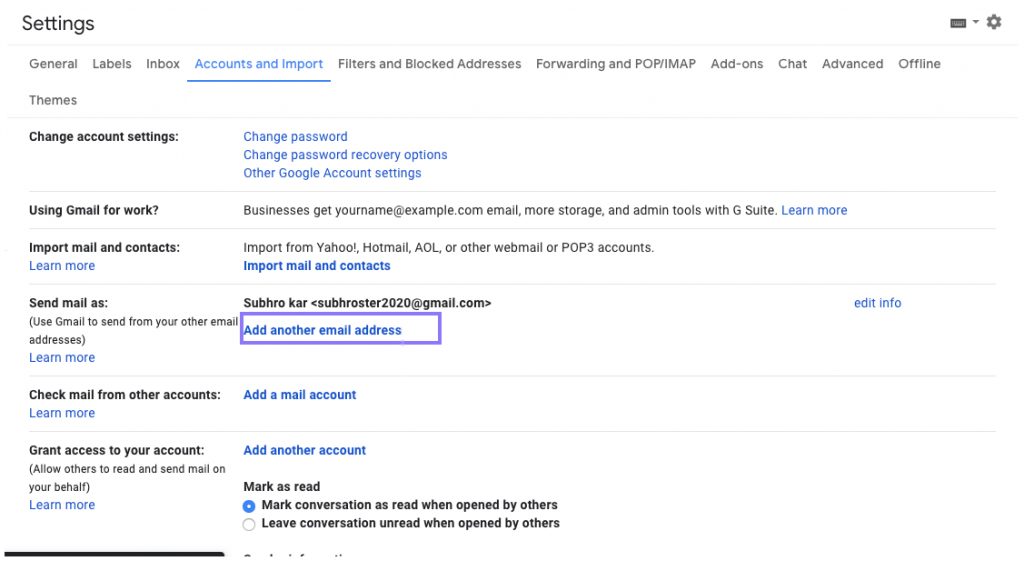
- Now, click on the Account and Import tab and select Add a mail account.

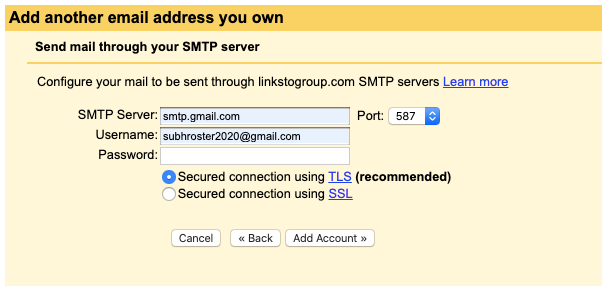
- Enter Name and business email ID and click on Next. In SMTP server enter smtp.gmail.com. Enter your Gmail account in the username section. Enter the App password created earlier. and click on Add Account.

- You will receive a confirmation code in your business email account. You can find this code in your Gmail account. Enter the verification code and click on verify.
After a few minutes, click on compose and now you will be able to see a dropdown displaying your personal email ID and business email ID.

Leave a Reply