So, what can you do about it?
There are few tricks and tweaks which you can perform on your router settings to boost WIFI signal.
Depending on your need and area covering some of the settings may or may not work.
For example, in a multistorey building, you may not get a poor wifi signal or no signal at all from another floor.
Well, why not use a WIFI extender?
Also, a is question is does WIFI Extender works?
Yes, they do work but at the cost of decreasing your wifi speed significantly to almost about 50% less.
Wireless access point and wireless repeater are probably being confused by many people.
The primary difference between the two is that the access point has a hard-wired connection to the Internet independently.
The repeater is a device which you can place anywhere the computer would be but every signal has will be repeated.
In other words, your computer sends out a command that’s repeated to the internet comes back repeated again which slows down the bandwidth.
The access point router can be placed anywhere in a room or even at another floor in a multi-storey building and you would still get the same bandwidth everywhere as with your main router.
Another advantage is depending on the availability of ethernet ports on your main router you can connect as many routers as you can and use them as an access point.
Well, if you have an old unused router you can convert it to a WIFI extender or an access point
Or you may buy a cheaper wifi router to use as an access point.
Some of the newer routers come with an access point connection option.
You may connect these routers using LAN wire to your main router and need not mess with any router settings.
What do you need for this setup?
- Well, the first thing is you should have two routers and you may have to use one of these as an access point.
- A LAN wire for conneting the two routers.
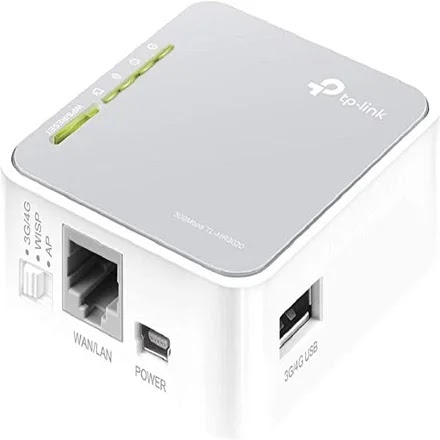
I would suggest purchasing a TP-LINK Travel router which you can get at a price of 1000 Rs.
Depending on how far you would like to extend the Signal you can get a LAN wire of the desired length.
The LAN wire would typically cost you around 100 Rs.
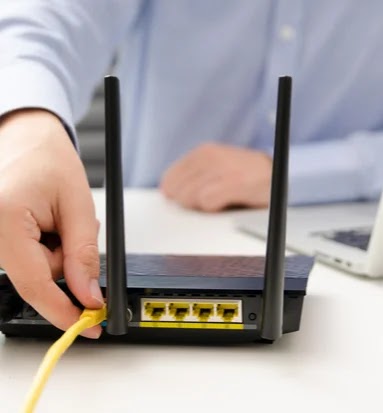
Start by connecting your older router to any of the Ethernet port to an ethernet port of the new router.
The Internet wire goes into the Internet port of your Main router.
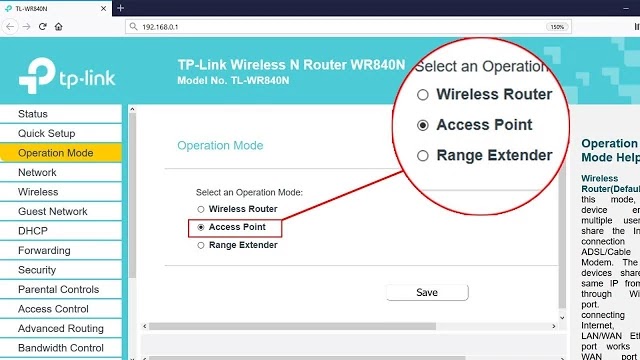
If the access point mode is supported by your router, follow the steps below to transform your router into an access point.
- Connect the Ethernet cable to the wan port of the main router.
- Go to the router login page.
- Then, select Operation Mode to Access Point.
- Reboot the router and it will act as an Access point.
If your router doesn’t support Access Point Mode. You need to change the IP address for one of your router.
- Connect the Ethernet cable to the wan port of the main router.
- The LAN port of the main router will go to the wan port of the access point.
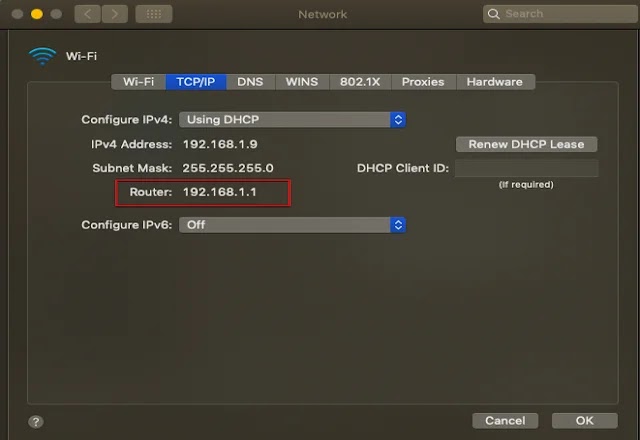
- Find the IP address of your main router.
For Windows computer,
Go to command prompt a type IPconfig.
Then, look for the default gateway.
For Mac,
Go to System Preferences then click on Network then click Advanced and click on
the TCP/IP tab.
The Router IP address will be displayed.
Now, follow the below steps to use your old router as an access point.
- Connect the LAN port of the main router to the old router or Access Point.
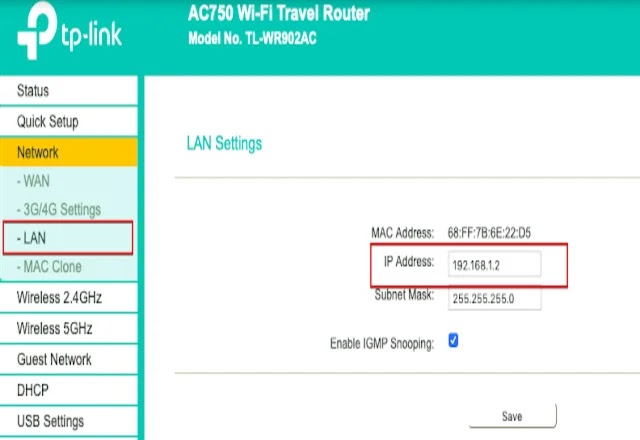
- If the IP address is the same for the Access point, we need to change the IP address.
- If the Main Router Access point is 192.168.1.1, we can choose an access point between 192.168.1.2 to 192.168.1.254
Make sure you assign an IP address to the Access point which is not assigned to any other devices.
You can check the list of devices by going to the DHCP Client list options. For some of the router, you may need to disable the DHCP Server.




Leave a Reply